

Safe Home Canning Guide
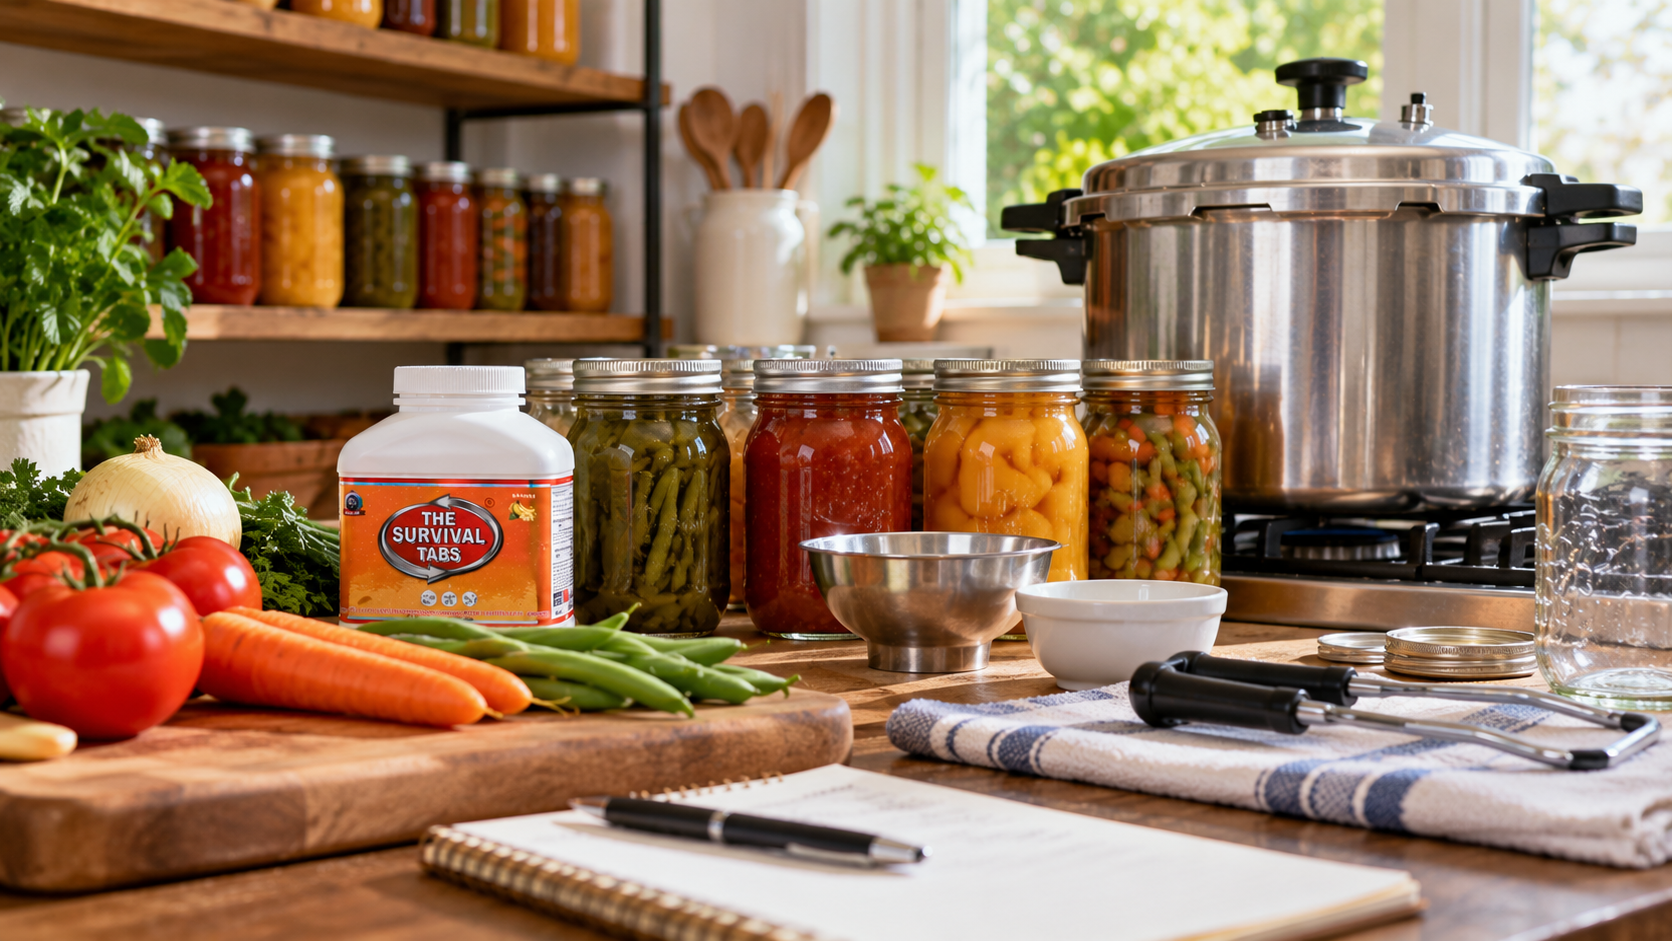
A safety-first guide to tested recipes, correct equipment, processing records, storage, and spoilage decisions.
Canning is a controlled food-safety process
- Use only current, tested recipes from USDA, the National Center for Home Food Preservation, or a research-based extension service.
- Do not alter jar size, ingredient proportions, acidity, processing method, pressure, or time unless the tested recipe permits it.
- Low-acid foods require pressure canning; boiling-water canning is not a substitute.
- Altitude changes processing requirements, so confirm your elevation and recipe adjustment.
Choose the right method
- Use boiling-water or atmospheric steam canning only for foods and recipes approved for those methods.
- Use a pressure canner—not a small pressure cooker—for tested low-acid recipes.
- Do not use oven canning, open-kettle canning, dishwasher canning, microwave canning, or solar canning.
- When no tested home-canning process exists, freeze, refrigerate, dry, or buy a commercially canned version instead.
Equipment and setup
- Inspect jars for chips and cracks and use compatible two-piece lids as directed by the manufacturer.
- Check pressure-canner gauges as recommended by the manufacturer or local extension service.
- Read the full recipe before starting and prepare enough uninterrupted time.
- Keep children and pets away from hot jars, steam, boiling water, and pressure equipment.
Process control
- Measure headspace exactly.
- Remove air bubbles only as the tested recipe directs.
- Apply lids and bands without overtightening.
- Vent and operate a pressure canner exactly as the canner and recipe instructions specify.
- Never force-cool or open a pressurized canner.
Cooling and seal checks
- Cool jars undisturbed for the time stated in the tested method.
- Check seals after cooling; do not retighten bands on hot jars.
- Refrigerate or reprocess an unsealed jar only within the tested safe window and method.
- Label each jar with product, recipe source, batch, and date.
Storage and rotation
- Store sealed jars in a cool, dry, dark place away from heat and flood risk.
- Remove screw bands for storage if the tested guidance recommends it, so failed seals are easier to detect.
- Use older safe stock first and inspect jars before every use.
- Keep a batch log so a problem can be traced.
Spoilage and botulism boundaries
- Never taste food from a leaking, bulging, spurting, moldy, badly rusted, damaged, or unsealed container.
- When in doubt, discard it without exposing people or animals.
- Botulism toxin cannot be seen, smelled, or tasted.
- Seek urgent medical help for symptoms such as trouble swallowing, double vision, drooping eyelids, slurred speech, weakness, or breathing difficulty after preserved food.
Emergency planning
- Do not begin canning during an unstable power, water, fuel, or evacuation situation.
- Keep commercial shelf-stable food for outages; home canning requires controlled conditions.
- Discard jars exposed to floodwater unless official guidance provides a safe, applicable recovery method.
- If records or processing certainty are missing, do not guess.
Frequently asked questions
- Can I reduce salt or sugar? Only when the tested recipe explicitly allows it.
- Can I can my own soup recipe? Use a tested formula; density and ingredient changes can prevent safe heat penetration.
- Can I use an electric multicooker? Use only equipment and processes specifically validated by authoritative guidance.
- Is a sealed lid proof of safety? No. A seal does not prove correct processing.
What this guide excludes
- Untested family recipes presented as safe
- Canning in ovens, dishwashers, microwaves, or open kettles
- Small pressure-cooker substitutions
- Remote certification of a jar’s safety
- Advice to taste questionable food
Professional review before publication
- Food microbiology and botulism review
- USDA-aligned home-preservation review
- Equipment and burn-safety review
- Accessibility review
- Regulatory and legal review
Official sources
- USDA Complete Guide to Home Canning
- NCHFP canning guidance
- Principles of Home Canning
- CDC botulism prevention
- FoodSafety.gov disaster food safety
- USDA food preservation resources
Editorial note
This article is educational and must be reviewed by the listed professionals before publication. Follow current official instructions, local law, product labels, and qualified advice during an emergency.
Expanded tested-process guidance
This section adds the full method-selection, equipment, processing, spoilage, accessibility, and review controls required before publication.
Expanded tested-process guidance
- This section adds the full method-selection, equipment, processing, spoilage, accessibility, and review controls required before publication.
- Decide whether a food should be canned at home
- Use only a current tested recipe from USDA, the National Center for Home Food Preservation, or a university extension service.
- Match the exact food, preparation, pack style, jar size, processing method, time, pressure, and altitude adjustment.
- Freeze, refrigerate, dehydrate, or buy a commercially processed product when no tested recipe exists.
- Do not can dairy, eggs, flour-thickened foods, pasta, rice, pureed pumpkin, or other foods unless a tested recipe specifically allows it.
- Treat mixed dishes according to a tested recipe; the least acidic ingredient controls the required process.
- Do not invent shelf-stable versions of family recipes by estimating acidity or extending time.
- Confirm that every ingredient substitution is explicitly permitted by the tested source.
- When in doubt, do not can the food for room-temperature storage.
- Water-bath versus pressure canning
- Use boiling-water or atmospheric steam canning only for foods and recipes validated for those methods.
- Use pressure canning for low-acid vegetables, meats, poultry, seafood, and combination foods covered by tested guidance.
- A pressure cooker is not automatically a pressure canner; use equipment that meets the tested method’s capacity and operating requirements.
- Never substitute oven, microwave, dishwasher, open-kettle, slow-cooker, or solar processing.
- Do not use inversion sealing or paraffin as a replacement for a tested heat process.
- Follow altitude-specific processing instructions because boiling temperature and required pressure change with elevation.
- Start timing only when the tested method’s required condition has been reached.
- If pressure or boiling is interrupted, follow the tested source’s restart or reprocessing rule rather than guessing.
- Equipment inspection before each batch
- Check the canner body, rack, lid, handles, vent, petcock, gasket, safety plug, and locking system for wear or blockage.
- Have dial gauges tested at the interval recommended by the manufacturer or extension service.
- Use jars intended for home canning and reject chipped, cracked, or deeply scratched jars.
- Use new flat lids when the lid manufacturer requires them and inspect bands for rust or distortion.
- Use jar lifters, funnels, timers, clean towels, and heat-resistant tools that keep hands away from steam and boiling liquid.
- Read the current manufacturer instructions for the exact canner model before operation.
- Do not modify vents, weights, gauges, gaskets, electrical controls, or safety devices.
- Stop the batch if the canner cannot be operated, vented, monitored, or cooled exactly as required.
- Prepare food and jars without changing the process
- Begin with sound food and discard moldy, spoiled, insect-damaged, diseased, or badly bruised portions.
- Wash produce under safe running water and prepare it exactly as the tested recipe states.
- Measure ingredients accurately; do not reduce required bottled lemon juice, vinegar, or other specified acid.
- Use the jar size, headspace, hot-pack or raw-pack method, and pretreatment listed in the recipe.
- Remove air bubbles only as directed and recheck headspace before applying the lid.
- Wipe jar rims clean without introducing oil, fibers, or food that could prevent sealing.
- Tighten bands to the lid manufacturer’s specified fingertip tightness rather than forcing them.
- Keep hot jars and food at safe temperatures and avoid thermal shock.
- Operate a pressure canner safely
- Add the specified amount of water and load jars so steam can circulate.
- Lock the lid correctly and heat with the vent open until a steady funnel of steam appears.
- Vent for the full time required by current tested guidance before pressurizing.
- Adjust heat to maintain the required pressure continuously for the entire processing time.
- Stay with the canner and monitor the gauge or weighted control; do not leave it unattended.
- If pressure falls below the required level, follow tested restart instructions and evaluate food quality after the longer process.
- After processing, turn off heat and allow the canner to depressurize naturally without forced cooling.
- Open the lid away from the face and body only after pressure is fully at zero and the manufacturer’s waiting steps are complete.
- Cool, test seals, label, and store
- Place hot jars upright on a protected surface with space for air circulation.
- Do not retighten bands, press lids, invert jars, or disturb them during the tested cooling period.
- After cooling, test seals using the lid manufacturer’s method and remove screw bands for storage when recommended.
- Refrigerate and use an unsealed jar promptly, freeze it in a suitable container, or reprocess within the allowed time using a new tested process.
- Label each jar with product, preparation style when relevant, processing date, and batch information.
- Store sealed jars in a clean, cool, dark, dry place protected from freezing and excessive heat.
- Rotate stock first-in, first-out and inspect shelves for leaks, pests, rust, breakage, or temperature problems.
- Do not stack or store jars in a way that hides failed seals or stresses lids unless the lid manufacturer permits it.
- Recognize spoilage and botulism hazards
- Do not taste food to determine whether it is safe.
- Discard jars with bulging lids, broken seals, leakage, spurting liquid, rising bubbles, mold, off odors, or unusual color.
- Remember that botulinum toxin may not change appearance, smell, or taste.
- Do not feed suspect food to people or animals and do not compost it where exposure could occur.
- Follow current official instructions for safely handling and disposing of suspect low-acid canned food.
- Clean contaminated surfaces and equipment according to public-health guidance while preventing skin, eye, inhalation, and splash exposure.
- Seek emergency medical care for difficulty swallowing, double or blurred vision, drooping eyelids, slurred speech, muscle weakness, or breathing difficulty after eating preserved food.
- Preserve the jar and label only if health authorities instruct you to do so safely for investigation.
- Special households and emergency conditions
- Do not begin home canning during a power, water, fuel, ventilation, or evacuation emergency unless the complete tested process can be maintained safely.
- Use commercially canned or otherwise shelf-stable foods when equipment, water quality, attention, or cooling space is unreliable.
- Keep children and pets outside the hot-work zone and protect cords, burners, steam paths, and heavy canners.
- Provide stable work heights, reach, lighting, timer alerts, and lifting assistance for users with disabilities or limited strength.
- Account for allergens and medically necessary diets in both recipes and labels.
- Do not rely on home-canned food as the only emergency food source.
- Plan safe water and fuel needs before starting; processing must never compete with essential drinking or medical needs.
- Stop immediately when evacuation orders, severe weather, illness, fatigue, equipment faults, or unsafe indoor conditions arise.
- Batch records and annual quality control
- Record the tested recipe source and publication date for every batch.
- Document food variety, ingredient quantities, jar size, pack method, headspace, canner type, altitude, processing time, pressure, and yield.
- Note gauge test results, lid lot information when available, seal failures, and any processing interruption.
- Keep records with stored jars so a questionable batch can be isolated quickly.
- Review recipes annually and retire instructions that are no longer current.
- Inspect canners before the season and replace only manufacturer-approved parts.
- Practice the process with an experienced extension educator or qualified instructor when possible.
- Never use social-media popularity, family tradition, or an apparently successful seal as proof that a process is microbiologically safe.
- Professional and publication review gates
- A food-preservation specialist should verify every method, time, pressure, altitude statement, and disposal rule.
- A food microbiologist or public-health reviewer should verify botulism and spoilage warnings.
- A manufacturer or equipment specialist should verify canner-operation language.
- An accessibility reviewer should test lifting, reach, alerting, and alternative-format instructions.
- A medical reviewer should verify symptom and emergency-care language.
- A legal or regulatory reviewer should check local disposal, sales, cottage-food, and labeling implications.
- Product-compliance review must prevent Survival Tabs from being described as a canning ingredient, preservative, or sole diet.
Update all links and instructions immediately when authoritative recommendations change.